Favorites

Content type
(0 Selected)
Select Content type(s)
Selected: None

How Lighting Affects the Color and Look of Brick

Brick is a timeless building material known for its durability and aesthetic appeal. However, one often overlooked factor that significantly impacts the look of brick in both interior and exterior applications is lighting. Natural and artificial lighting can alter the color perception, texture, and overall ambiance of brick surfaces. Understanding these effects can help homeowners, designers, and architects make informed decisions when selecting and installing brick.

The Impact of Natural Light on Brick

Natural sunlight shifts throughout the day, affecting how brick appears at different times. Here’s how:

  • Morning Light: Soft and warm, morning sunlight enhances reds and oranges in brick, making them appear more vibrant.
  • Midday Light: Direct sunlight at noon can wash out brick colors, making them look lighter and sometimes harsher, especially in bright summer months.
  • Evening Light: As the sun sets, golden hues dominate, giving brick a richer, warmer appearance.
  • Shadows and Orientation: The direction a brick surface faces (north, south, east, or west) affects how much light it receives, altering its perceived color. North-facing bricks often appear cooler, while south-facing bricks receive more direct sunlight and may appear brighter.

Artificial Lighting and Brick Interiors

Indoor brick surfaces are heavily influenced by artificial lighting, which can dramatically change their look:

  • Warm Lighting (Incandescent & Soft LED): Enhances warm tones like red, orange, and brown, creating a cozy, inviting atmosphere.
  • Cool Lighting (Daylight LED & Fluorescent): Can mute warm brick tones, giving them a subdued or even slightly grayish appearance.
  • Directional Lighting: Spotlights or wall-mounted fixtures create shadows that highlight brick texture and depth, adding character to the space.
  • Dimmers: Adjustable lighting allows for changes in mood and color perception, making brick appear different based on brightness levels.

Outdoor Brick and Nighttime Illumination

For exterior brick applications, artificial outdoor lighting plays a crucial role in how brick is perceived after dark:

  • Uplighting: Positioned at the base of a brick wall, uplighting enhances texture and creates dramatic shadow effects.
  • Downlighting: Mounted above, downlighting produces a softer, more natural glow, accentuating the color of the brick without harsh contrasts.
  • Color Temperature Considerations: Warm outdoor lighting (2700K–3000K) enhances red and earthy brick tones, while cool lighting (4000K+) can make brick appear more muted or modern.

Choosing the Right Brick and Lighting Combination

To achieve the desired look, consider testing brick samples under different lighting conditions before finalizing a selection. A brick that looks perfect in a showroom might appear completely different when installed in a naturally lit space or under artificial lights.

Final Thoughts

Lighting is an essential element that influences the color and look of brick in both interior and exterior applications. Whether relying on natural sunlight or artificial illumination, understanding these effects can help maximize the aesthetic potential of brick surfaces. Thoughtful lighting choices ensure that the beauty and character of brick remain consistent in any setting, enhancing both functionality and design.


You May Also Be Interested In

We Can Help With Your Next Project

Discover the latest + greatest in design trends, industry news & pro tips from pros.

For all of your project needs, you’ll find everything you need at a Supply Center.

Let Us Know How We Can Help!

Why Firefighters Choose Brick

The video Why Firefighters Choose Brick by the Brick Industry Association highlights the unmatched fire-resistant qualities of brick. Featuring insights from experienced firefighters, the video explains how brick buildings provide superior protection against fire, giving occupants more time to escape and reducing property damage. With real-world examples and expert testimony, it reinforces why brick is a safer, more reliable choice for building construction.


You May Also Be Interested In

We Can Help With Your Next Project

Discover the latest + greatest in design trends, industry news & pro tips from pros.

For all of your project needs, you’ll find everything you need at a Supply Center.

Let Us Know How We Can Help!

Brick Stands For Good

The video Brick Stands for Good by the Brick Industry Association highlights the enduring benefits of brick as a building material. It showcases how brick contributes to sustainability, durability, and aesthetic appeal while supporting local economies and communities. Through expert insights and real-world examples, the video reinforces why brick remains a trusted choice for architects, builders, and homeowners alike.


You May Also Be Interested In

We Can Help With Your Next Project

Discover the latest + greatest in design trends, industry news & pro tips from pros.

For all of your project needs, you’ll find everything you need at a Supply Center.

Let Us Know How We Can Help!

Rocky Ridge, Maryland Manufacturing Plant

For over a century, Glen-Gery molded brick has elevated architecture both great and small. With unprecedented ease and brilliance, this brick showcases our commitment to implementing new technology while honoring artisanal methods of the past.


You May Also Be Interested In

We Can Help With Your Next Project

Discover the latest + greatest in design trends, industry news & pro tips from pros.

For all of your project needs, you’ll find everything you need at a Supply Center.

Let Us Know How We Can Help!

How to Replace Old Siding with Thin Tech® Elite Panels & Real Thin Brick Veneer

Replacing your old vinyl, wood or fiber cement siding with Thin Tech® Elite panels with thin brick is a great way to add durability, elegance, and long-term value to your home. Follow these step-by-step process for a smooth installation.

Step 1: Remove Existing Siding
·      Use a pry bar to carefully remove the siding from top to bottom.
·      Inspect the underlying sheathing for moisture damage or rot and repair if necessary.
·      Ensure the surface is flat and stable for the Thin Tech® Elite panels.

Step 2: Prepare the Surface
·      Install a weather-resistant barrier (WRB) such as house wrap or building paper for moisture protection.
·      Secure the WRB with staples or cap nails, ensuring proper overlap at seams.
·      Apply flashing around windows, doors, and corners to prevent water infiltration.

Step 3: Install Thin Tech® Elite Panels
·      Start at the bottom and work upward, ensuring panels are level.
·      Secure the panels to the wall using corrosion-resistant fasteners into studs or structural sheathing.
·      Stagger panel seams to create a stronger and more secure installation.
·      Leave space for expansion joints where necessary.

Step 4: Install Thin Brick
·      Apply a quarter inch dabs of adhesive to the back of each brick.
·      Press the thin brick into the panel slots, ensuring a snug fit.
·      Work row by row, maintaining consistent spacing for uniform joints.

Step 5: Apply Mortar Between Bricks
·      Once the bricks are set, use a grout bag or tuck pointer to fill the joints with mortar.
·      Tool the mortar joints for a clean, professional finish.
·      Use a brush to remove excess mortar.

Step 6: Final Touches & Cleanup
·      Clean the bricks with a soft brush and water, avoiding harsh chemicals.

Enjoy Your New Thin Brick Exterior!

With Thin Tech® Elite panels, you get a strong, lightweight, and ventilated brick system that enhances the look and performance of your home. Unlike other siding materials, thin brick offers long-term durability, fire resistance, and timeless beauty.

Ready to get started? Upgrade today and bring lasting character to your home! Begin by finding a Glen-Gery dealer nearest you and 


You May Also Be Interested In

We Can Help With Your Next Project

Discover the latest + greatest in design trends, industry news & pro tips from pros.

For all of your project needs, you’ll find everything you need at a Supply Center.

Let Us Know How We Can Help!

Installing Thin Brick Veneer: A Step-By-Step Guide

Tool Checklist:

  • tape measure
  • chalk line
  • level
  • gloves & safety glasses
  • dust mask
  • 3- 5 gallon buckets (one to mix mortar, second to keep clean water and third for water to immerse mixer paddle)
  • large mortar mixer
  • mixing stick or hand held power mortar mixer
  • caulking gun
  • tarp
  • saw with masonry blade or tile saw
  • mortar/grout bag with metal tip
  • mortar scoop or trowel
  • striking joint
  • stiff bristle brush.

Installing thin brick veneer is a great way to achieve the timeless beauty of brick with added versatility and ease. Whether you're upgrading an interior accent wall, enhancing an exterior façade, or tackling a DIY project, thin brick veneer offers a lightweight and durable solution. In this step-by-step guide, we’ll walk you through everything you need to know about installing Glen-Gery thin brick—from surface preparation to finishing touches—so you can create a stunning, professional-looking result.

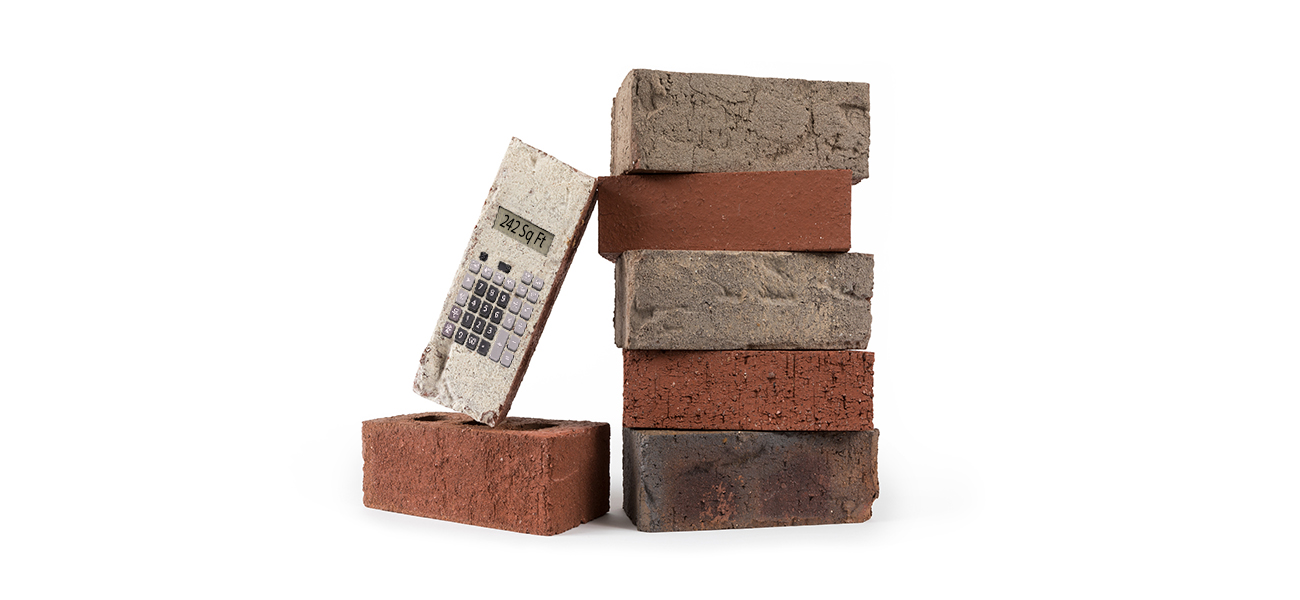
Before you get started, determine the total square footage of your project. Use Glen-Gery’s brick calculator tool to find the amount of brick needed based on wall area, the wall area your quantity of brick will cover, and even the estimated price per square foot and price per thousand pieces based on your wall area and budget.

Installing Thin Brick Veneer: A Step-By-Step Guide

Step 1: Prepare the Wall

  • If necessary, install water-resistant drywall, cement board, or tile backer board.
  • Ensure the wall is secure; do not apply thin brick to wallpaper, smooth tile, or damp surfaces.
Installing Thin Brick Veneer: A Step-By-Step Guide

Step 2: Plan Your Layout

  • Mark horizontal chalk lines based on brick height + 3/8" mortar joint. 3/8” is the standard for brick installation, but can be adjusted for aesthetic preferences.
  • Lay out bricks at the base to check for necessary cuts.
  • Adjust brick spacing slightly to minimize cutting.
Installing Thin Brick Veneer: A Step-By-Step Guide

Step 3: Install Thin Brick

  • Start with corner bricks, alternating long and short legs.
  • Apply non-sag adhesive (1/4"-3/8") to the back of each brick and press firmly onto the wall. Reminder: 3/8” is the standard for brick installation, but can be adjusted for aesthetic preferences.
  • Leave 3/8" between bricks for mortar.
  • Stagger bricks in a running bond pattern, or explore other brick patterns.
  • Cut bricks as needed using a masonry blade or wet saw.
Installing Thin Brick Veneer: A Step-By-Step Guide

 Step 4: Fill Joints with Mortar

  • Mix Type N mortar and fill a grout bag halfway.
  • Start at the base, filling horizontal joints first, then vertical.
  • Clean excess mortar from bricks immediately with a stiff fiber brush.
Installing Thin Brick Veneer: A Step-By-Step Guide

Step 5: Strike the Joints

  • Let mortar firm up until it crumbles like dry sand.
  • Use a concave jointer to smooth joints (vertical first, then horizontal), or explore other mortar and joint techniques.
  • Brush off excess mortar and avoid wire brushes to prevent scratches.
  • Now, clean up and enjoy your new brick wall!

You May Also Be Interested In

We Can Help With Your Next Project

Discover the latest + greatest in design trends, industry news & pro tips from pros.

For all of your project needs, you’ll find everything you need at a Supply Center.

Let Us Know How We Can Help!

Thin Brick Showroom Pack Request

Request our Thin Brick Showroom Pack!

This showroom pack consists of 48 printed Thin Brick Collection catalogs, a metal stand, and poster insert (pictured below).

thin brick collection showroom pack


2025 Venice Biennale

2025 Venice Biennale

Glen-Gery will be attending the 2025 Biennale in Venice and we would like to connect with you.

Introducing Glen-Gery’s Emerald Green Glass Brick

Introducing Glen-Gery’s Emerald Green Glass Brick: A Championship-Worthy Color

At Glen-Gery, we believe that architecture and design should be just as bold and inspiring as the moments that shape history. And when the Philadelphia Eagles soared to victory in the Super Bowl, we knew we had to celebrate in a way that only we could—by unveiling a game-changing new brick color that embodies the energy, pride, and spirit of champions.

Meet the Emerald Green Glass Brick.

This striking new glass brick is more than just a building material; it’s a statement. A reflection of resilience, strength, and the unbreakable bond between a city and its team. Inspired by the rich Kelly Green heritage of the Eagles, our Emerald Green Glass Brick captures the essence of victory while offering architects and designers a bold new tool to bring their visions to life.

Why Emerald Green?

From the dazzling lights of Lincoln Financial Field to the sea of fans flooding Broad Street, the color green has long symbolized Philadelphia’s passion for its team. This new glass brick embodies that same energy, with a luminous, jewel-like quality that transforms any space with depth, brilliance, and a championship-worthy aesthetic.

Built for Champions—Designed for Visionaries

Just like a great team, great architecture is about innovation and endurance. Our Emerald Green Glass Brick isn’t just about celebrating a win; it’s about offering a material that stands out and stands strong. Whether used in statement walls, accent pieces, or full-scale architectural installations, this brick delivers a dynamic, modern aesthetic while maintaining the strength and durability Glen-Gery is known for.

Get Your Hands on the Winning Brick

We couldn’t wait to share this color with the world, and now, you don’t have to wait to experience it. The Emerald Green Glass Brick is available now—perfect for architects, designers, and builders who want to bring a piece of Philadelphia’s victorious spirit into their next project.

Ready to build with the heart of a champion? Contact us today to learn more or visit our showrooms to see the brilliance of Emerald Green Glass Brick in person.

Fly, Eagles, Fly—and let’s build something legendary!


You May Also Be Interested In

We Can Help With Your Next Project

Discover the latest + greatest in design trends, industry news & pro tips from pros.

For all of your project needs, you’ll find everything you need at a Supply Center.

Let Us Know How We Can Help!

Front+Center

Whether you’re building a new home or planning a special project, you’ll find everything you need at a Brickworks Supply Center.